Hand-soldering tiny charlieplexed LEDs
Recently, an awesome blog post found me that started with this sentence:
Have you ever wanted to build a LED matrix display using hand-crafting methods, such as sewing, weaving, or papercraft?
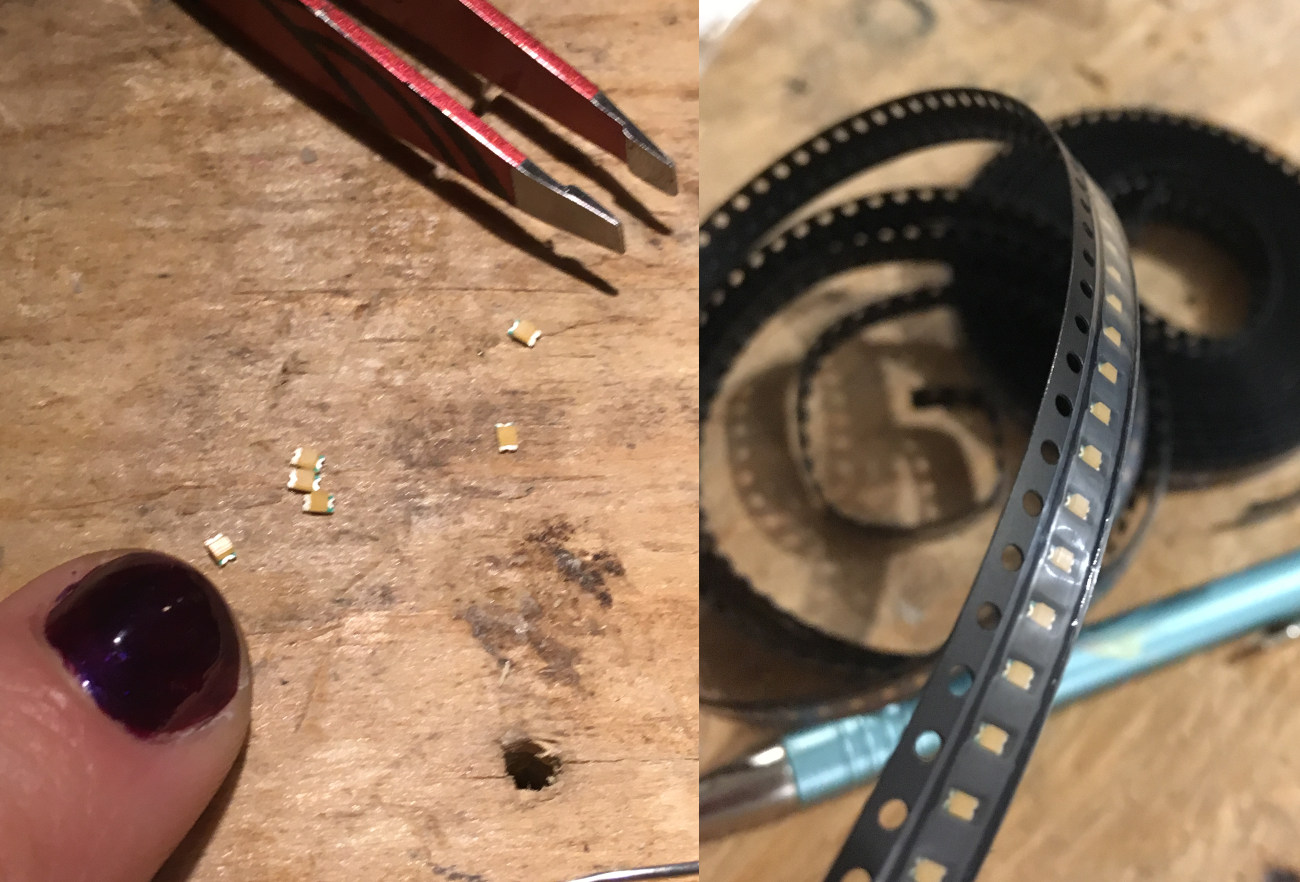
I've been itching to wire some tiny surface-mount LEDs in some kind of flexible multi-plexed array since this spring, when I semi-accidentally ended up with 1000 pink LEDs in my posession. In my mind, I was seeing some kind of dense fabric-y geodesic dome.
My friend Galen shared excitement about Charlieplexing last year, something I've been vaguely aware of for a while, but never dug into. Its wiki article and M Rule's blog have neat ways to describe Charlieplexing, but the essence of how I now understand it is this:
Every pin connects to every other pin through an LED. Put every pin in
INPUTmode so they're electrically disconnected.To turn on one specific LED, write the pin connected to that LED's cathode (negative side) to output
LOW, and the one connected to its anodeHIGH.Double the number of LEDs from there by hooking them up parallel pairs with one turned backward – swap the
HIGHforLOWandLOWforHIGHto reverse the current flow, lighting one or the other of any pair.
From connect every pin to every other pin, you can get a sense that this lets you control a lot of LEDs with a small number of microcontroller (eg., Arduino) pins.
So, this seemed like a perfect way to start working through my thousand pink LEDs! I started with the most literal version of the pattern, first with three pins (the first GIF in this post), and then four:
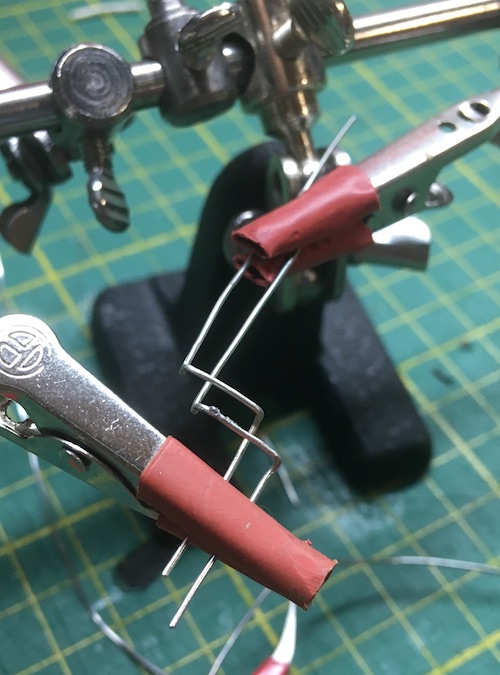
The wires have a nice visual pattern with all wires travelling the same direction on the same side. The LEDs themselves are structural, anchoring between the wires at each intersection and keeping them apart. I wanted to try for a classic under/over weave, so I pulled some multi-strand wire apart and gave it a shot:
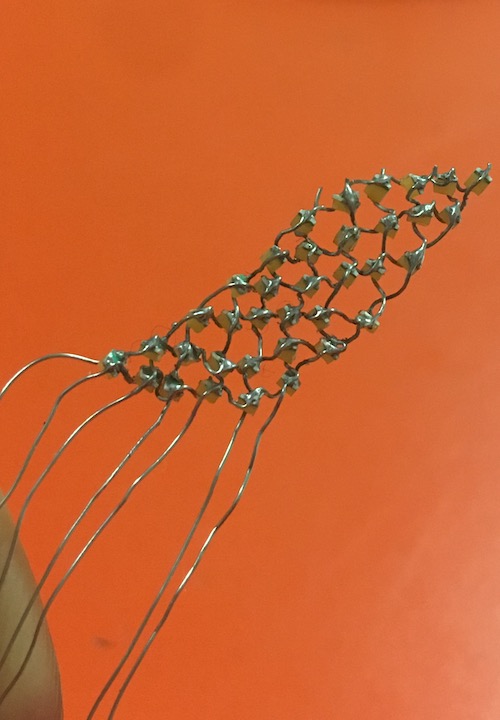
I was ambitious, and upped it to 7 pins, for 42 individual LEDs. It was not a perfect success. It's likely that I soldered some shorts I couldn't find, and some of the delicate SMD LEDs may have been physically compromised. I also probably made mistakes orienting the LEDs correctly with all that over/under back-and-forth to keep track of!
Still, I learned a lot! Especially about how hard it can be to debug Charlieplexed arrays. But also, that this weaving pattern creates a really nice visual texture, and the resulting material feels good: sturdy yet flexible.
I'd like to dive deeper in this direction! I want to make bigger meshes, and I want to try other weaving patterns, like twills, or maybe houndstooth? Maybe these can result in glowy-meshy materials with different flexing/stretching properties!
For the time being, I'm falling down several different other rabbit holes from this. In their post, M Rule proposes some fancy alternate layouts for the mesh, still following the same basic pattern:
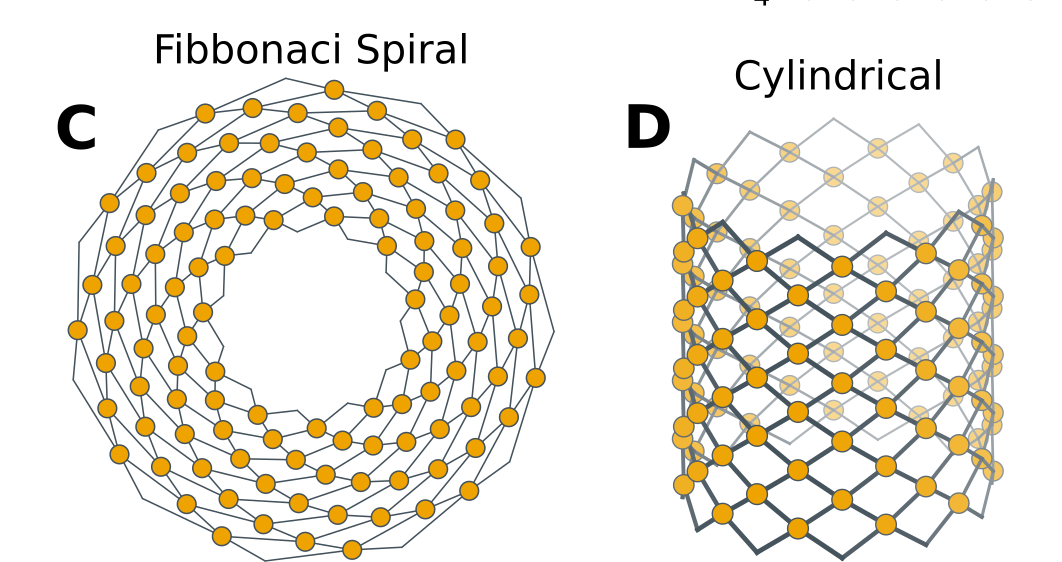
The cylinder immediately jumps out at me, because it seems like a short gap from there to a sphere! (I spend way too much time thinking about map projections…). A couple neat things going down this path:
When the cylinder wraps around, each wire meets back at itself perfectly! They go up at an angle to the top, then back down and meet themselves back at the bottom, in a sort of diamond or triangle-wave pattern.
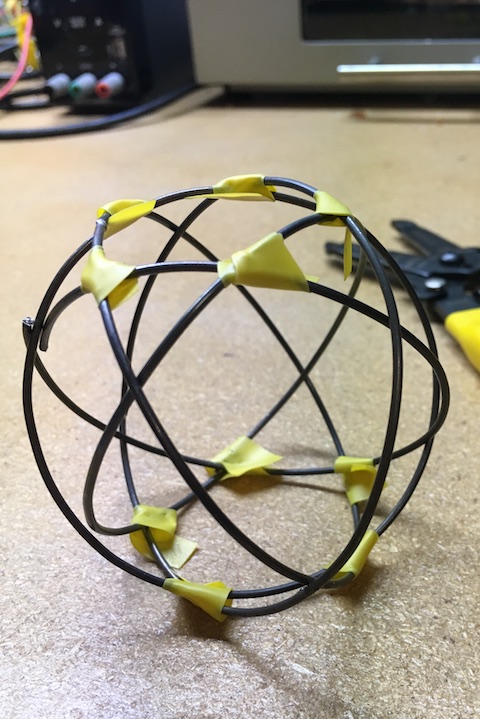
When you start pulling in the top and bottom to make it spherical, the wire angles at the top and bottom turnarounds start straightening out out…
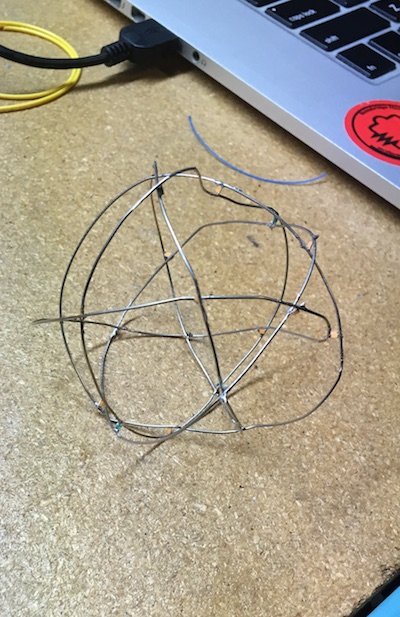
…until YOU COULD ACTUALY JUST MAKE ALL THE WIRES BE CIRCLES!?
It's easier to show this with a picture. Mocked up with five loops of wire:
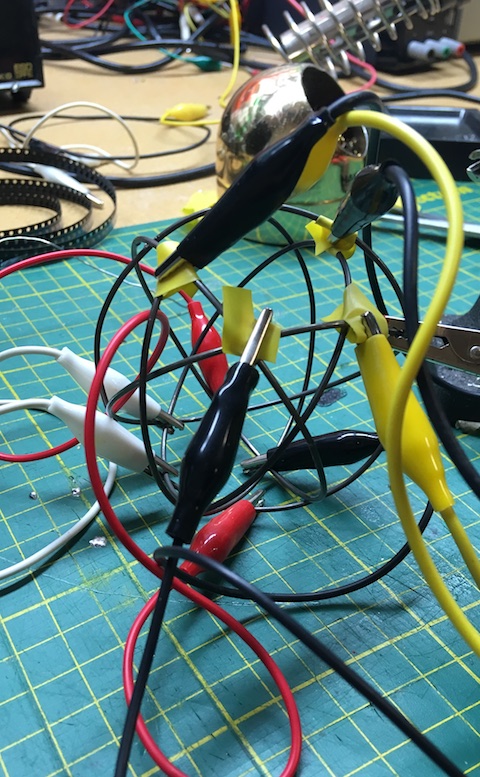
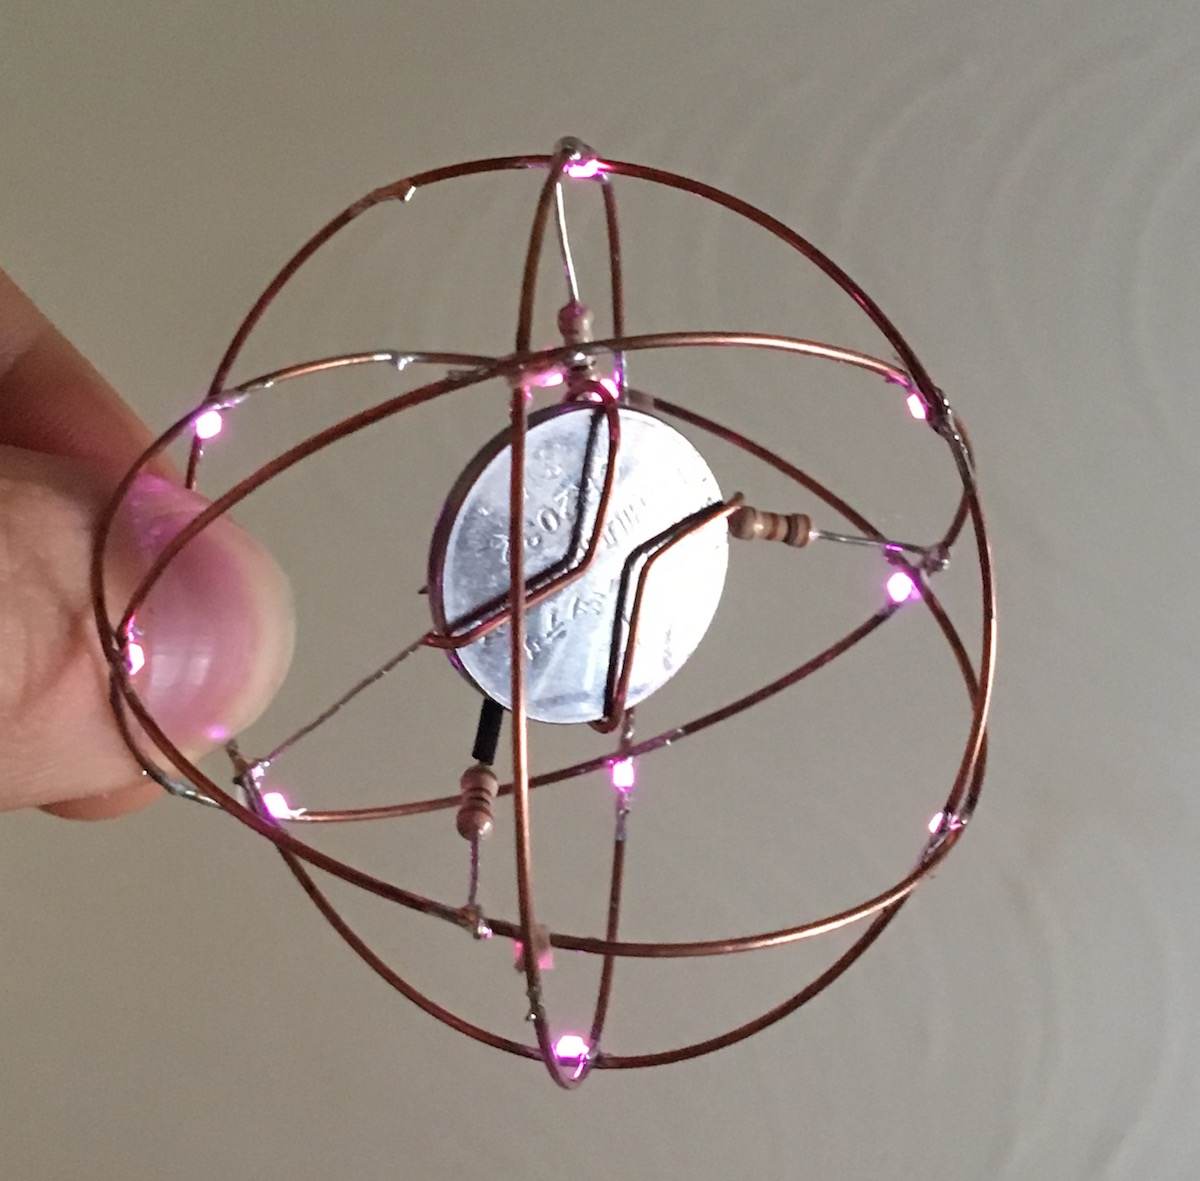
Promising! Every ring crosses every other ring twice (remember we connect every pin to every other pin twice in charlieplexing!) We could get a bigger array by just fitting in more rings. They sort of tilt-then-rotate in this pattern. I quickly soldered up a test with 20 pink LEDs:
And then I danced a bit.
From here, a number of projects have sprouted! A teaser:
post script
I've mostly worked on this at InterAccess in Toronto. They have nice soldering irons and stuff, and folks are nice. Come by Wednesday evenings for community nights, it's free!
for myself in the future: MOV -> WEBM crop/scale/not taking a hundred years: ffmpeg -i IMG_5940.MOV -an -vframes 90 -vf crop=1080:768:0:420,scale=600x427 -cpu-used 1 4-wire.webm
